Over the 5 years that I’ve been a reseller, I’ve contemplated having my own online store many times. While having a branded website held many valuable opportunities, setting one up from scratch was just too difficult a task. I tried with WordPress and several other “drag and drop” website builders but never got too far.
When Vendoo integrated with Shopify, making it easy to import your existing inventory to your own website, I was more than happy to jump on board and give it a try. With absolutely zero web design skills, I was able to create a Shopify store in no time and I’m ready to share my experience with the entire Vendoo community.
In this blog post, I’m going to share my personal experience launching my own Shopify store, including all the steps I went through.
Why Resellers Need Their Own Website
When you are a reseller who sells primarily on platforms you do not own, such as eBay and Poshmark, you have very little control over sudden changes that could impact your business in a huge way. This year, many of us learned that lesson when Poshmark made several algorithm changes that sellers didn’t agree with.
My two biggest takeaways after years of reselling using other people’s platforms are that you need to diversify where you sell your inventory and that you need to find a way to leverage more control over your business. Hosting an online store using your own website will give you more control and a lot more opportunities.
Not only will you have more control over how your inventory is displayed, but you will also be able to create your own marketing list of emails and other essential data from your customers. An email list is invaluable as e-mail marketing is still one of the most successful sales channels available to small sellers.
You may also be interested in: 9 Steps to Start a Reselling Business Online for Profit
3 Things You Need Before Signing Up For Shopify
Before you sign up for your Shopify free trial and get started, there are a few things you might want to have in place to set you off on the right path.
1. A Name For Your Website
Shopify will assign you a random URL but it’s much more professional to have a custom one with your business name. You’ll want to make sure the name you want isn’t already owned and if so, choose a new one. This name will appear on your website, your URL, and your social media, so choose carefully. Shopify lets you connect a URL that you purchased from anywhere so feel free to look around and find the best deal. Maybe people get URLs from GoDaddy, but there are many other places to choose from as well.
2. Branding For Your Website
To start out with, the most important branding items you need for your website are a logo, font choices, and a color scheme. You can create all of this for free in Canva, even with little to no design skills. Consistency is key with branding so choose colors and fonts that you really enjoy and that reflect your business.
3. A Business Banking Account
If you haven’t already opened a separate bank account for your business, stop right now and get that marked off your to-do list. Keeping personal and business funds separate is vital for taxes. Also, Shopify will need your banking information to set up the ability to take payments on your new website.
How Much Does It Cost To Sell On Shopify?
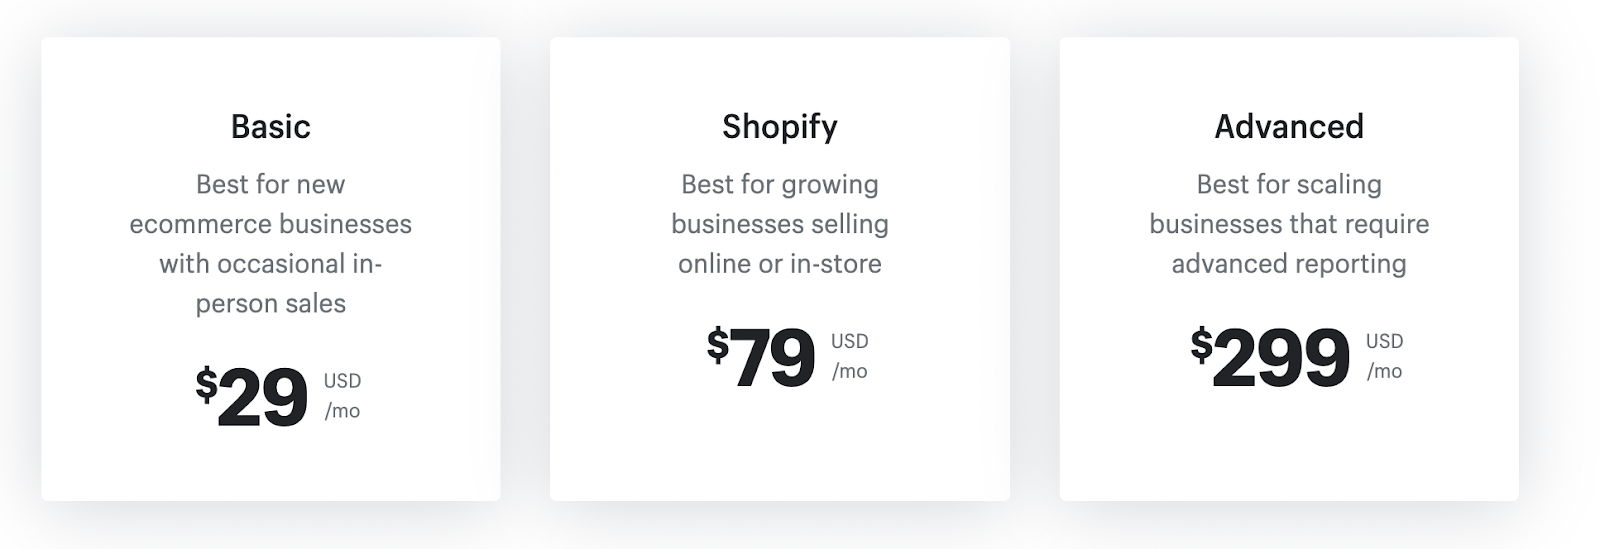
Are you tired of paying up to 20% in selling fees on sites like Poshmark? With your Shopify store, you choose a plan, and then per item, you will pay just 30 cents plus a small credit card processing fee. Most starter stores will be able to run on the cheapest Shopify plan of $29 a month. If you’d like more reports and automation you can opt for one of the $79 or above advanced plans.
Platforms do earn their fees by providing you with perks like shipping discounts, customer service, seller protection, and of course the boat-loads of traffic they bring in. Your brand new Shopify store might take more time and effort to get traffic, but in return, you can keep more of your profits.
6 Quick Steps To Setting Up Your First Store
Shopify is so easy to use, they say you can set your store up in as little as 15 minutes. It took me a bit longer than that because I’m a bit of a perfectionist when it comes to branding and word choices, but I’ll admit it was a far easier process than I feared. In fact, you’ll need to complete just 6 short steps to get your website and online store up and running.
1. Create A Shopify Account
You can start with a free 14-day trial. Go to the Shopify website to sign up in just a few seconds. You can pick your plan right away or wait until your free trial is up before moving forward.
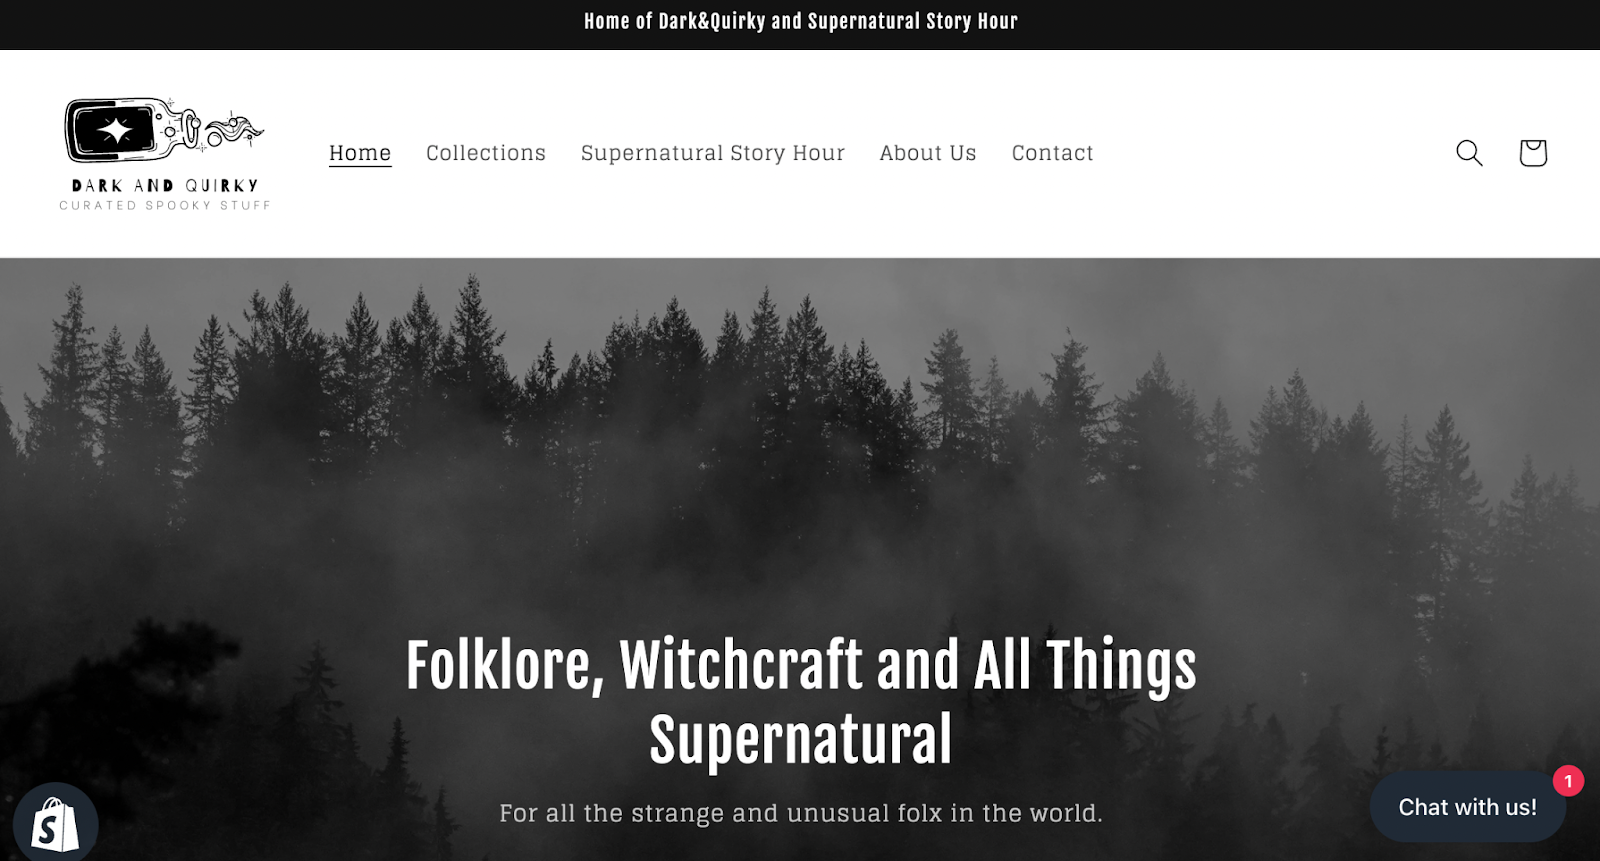
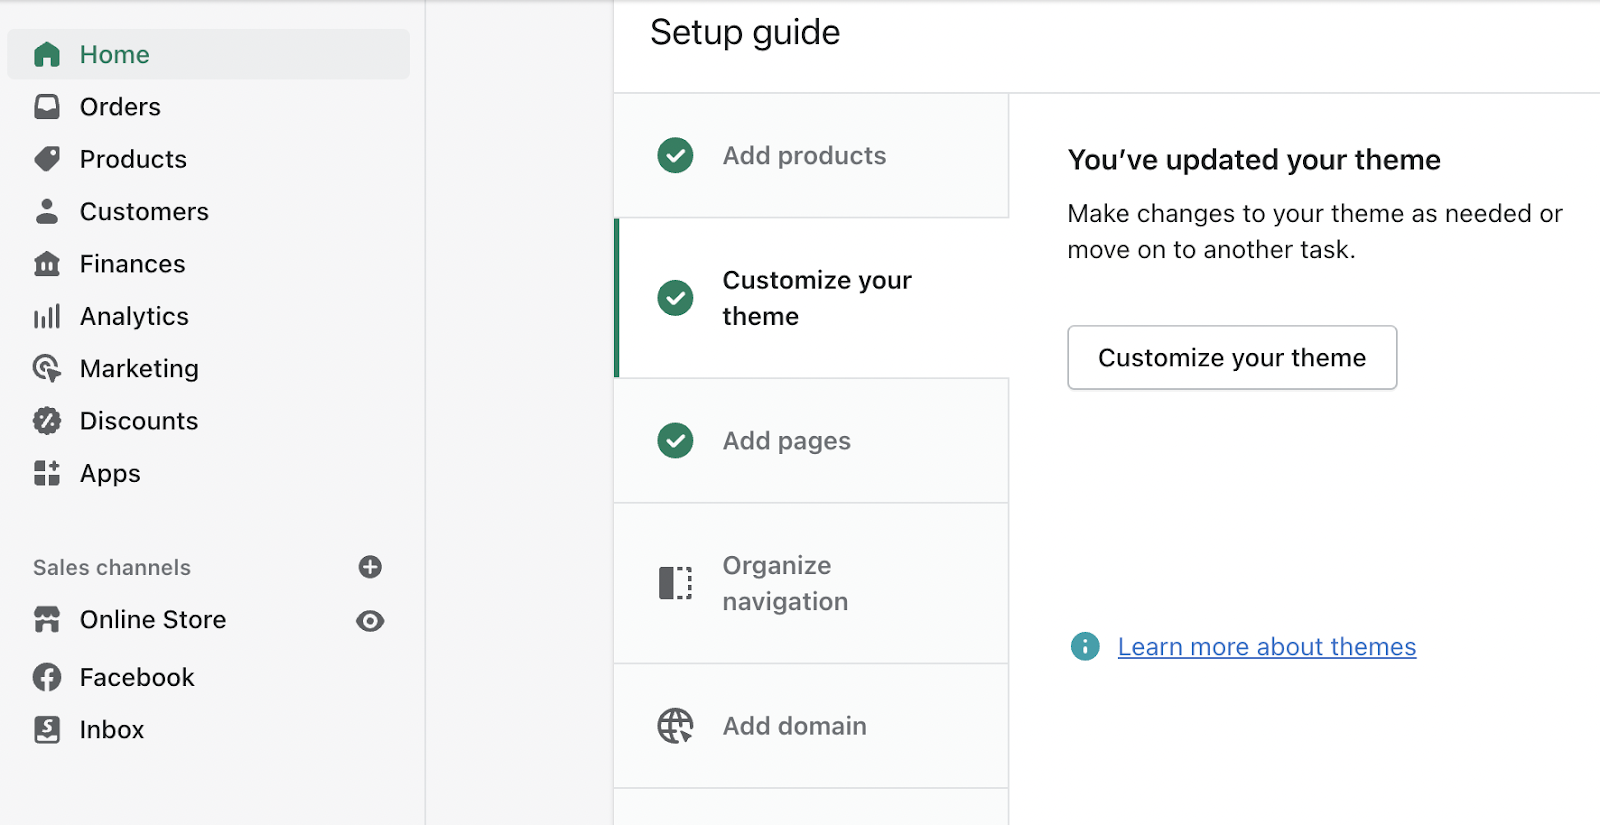
2. Choose And Customize Your Theme
Shopify comes with many free and paid themes for you to choose from. Once you pick one that works for you, you can then customize it to make it fit your brand with the perfect fonts, colors, and images.
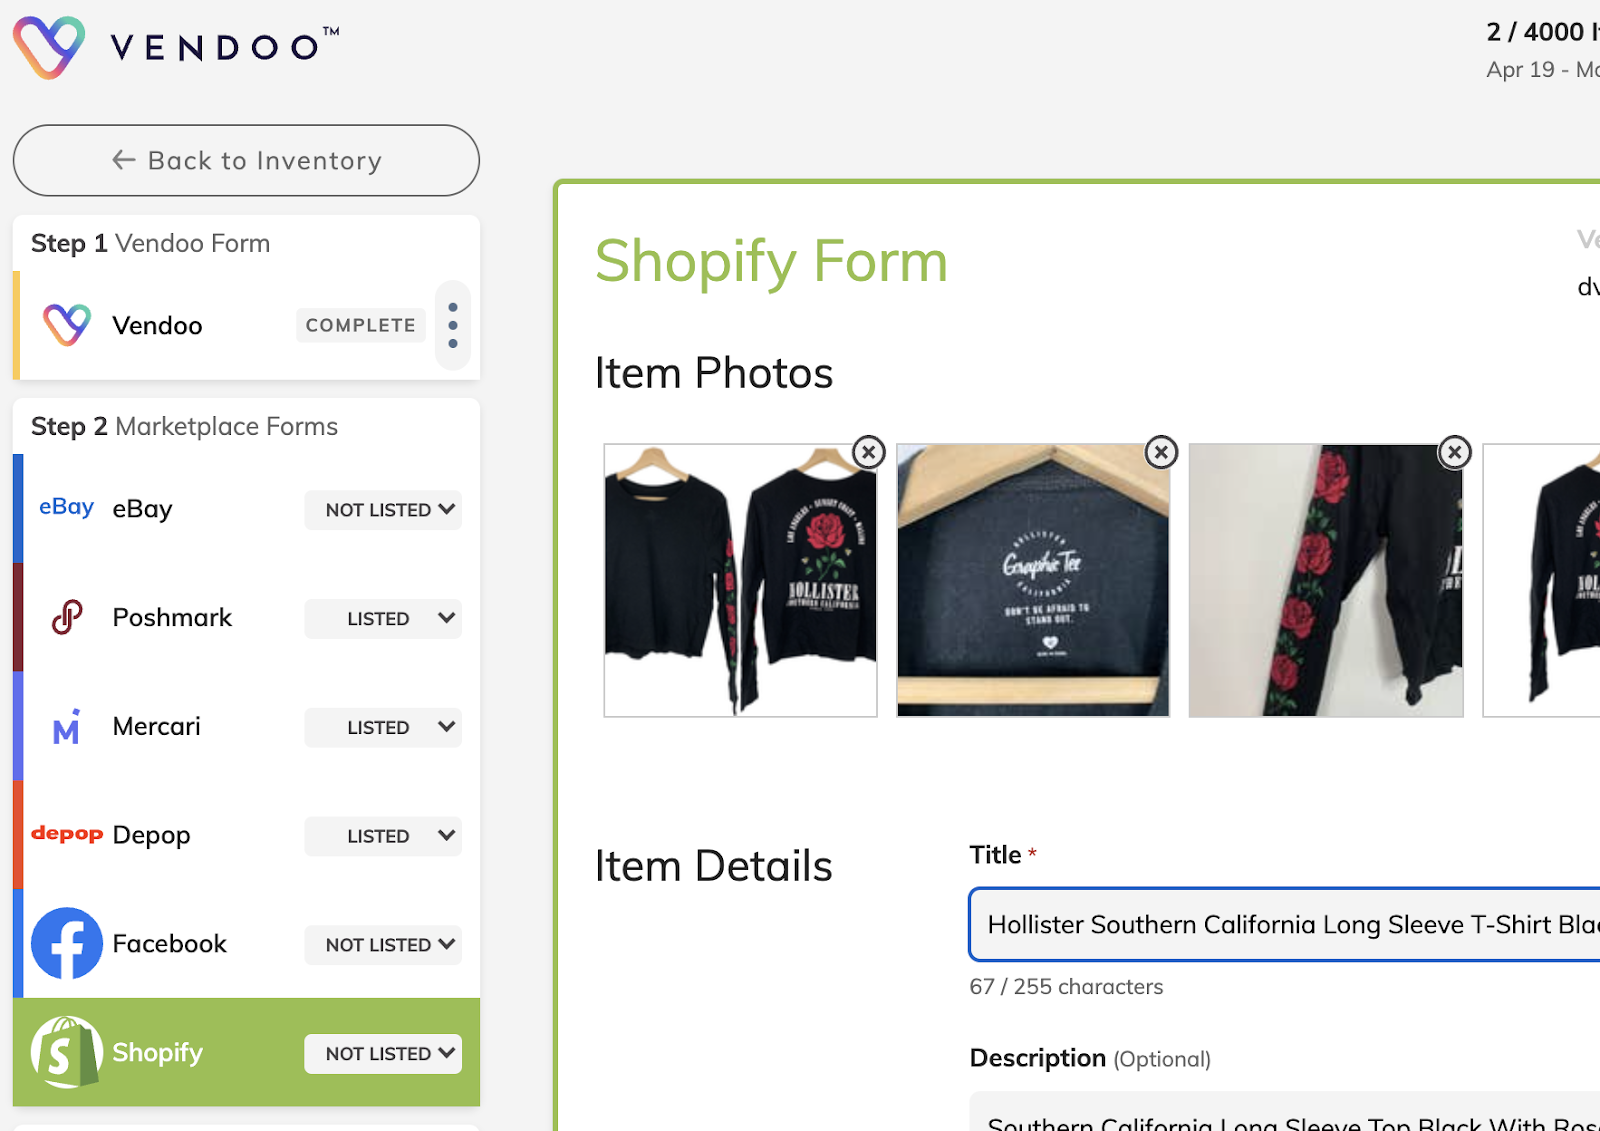
3. Add Products To Your Store
You can add products directly to your Shopify store or you can crosslist your existing inventory using Vendoo.
4. Set Up Your Payment Processor
Before your store can go live, you need a way for people to pay for their items! Luckily there is a detailed help article and video for every single thing you need to do inside Shopify, like this article on setting up your payment processor.
5. Connect Your Domain Name
The domain is another term for URL and it’s what people would type into a web browser to find your website. In your Shopify settings, you can purchase your domain from Shopify, transfer your domain to Shopify, or redirect your 3rd part URL to Shopify. Adding a custom domain will give your website a professional look and help you attract more customers.
6. Write Your Policies
To make sure things run smoothly with your shop and to help you manage customer expectations, you’ll want to set up policies for your website. All websites need to have a privacy policy, and you’ll want one for shipping and returns as well. Shopify has templates you can use to help you create the perfect store policies.
Bonus: Customize the e-mail that goes out when someone places an order! You can also browse the Shopify App store to add more fun features to your website, such as a chatbot!
Once you have completed all the steps, you’ll be ready to publish and launch your website. This is a very exciting moment because it means a new stream of revenue is about to be built!
Filling Shopify Orders
When viewing your Shopify store as an admin, you’ll have a left-side menu bar. One of the options will be to look at your orders.
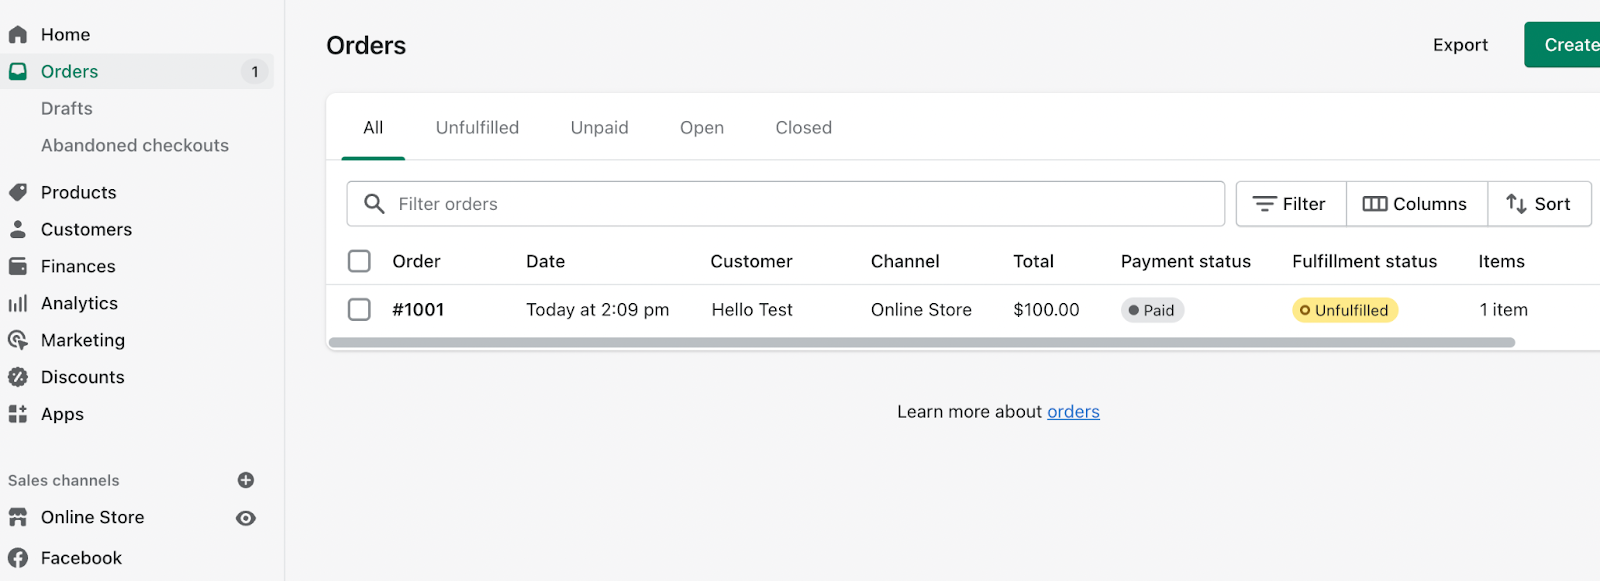
From here you can click on your new order, create a shipping label, and mark it as fulfilled. It’s that easy!
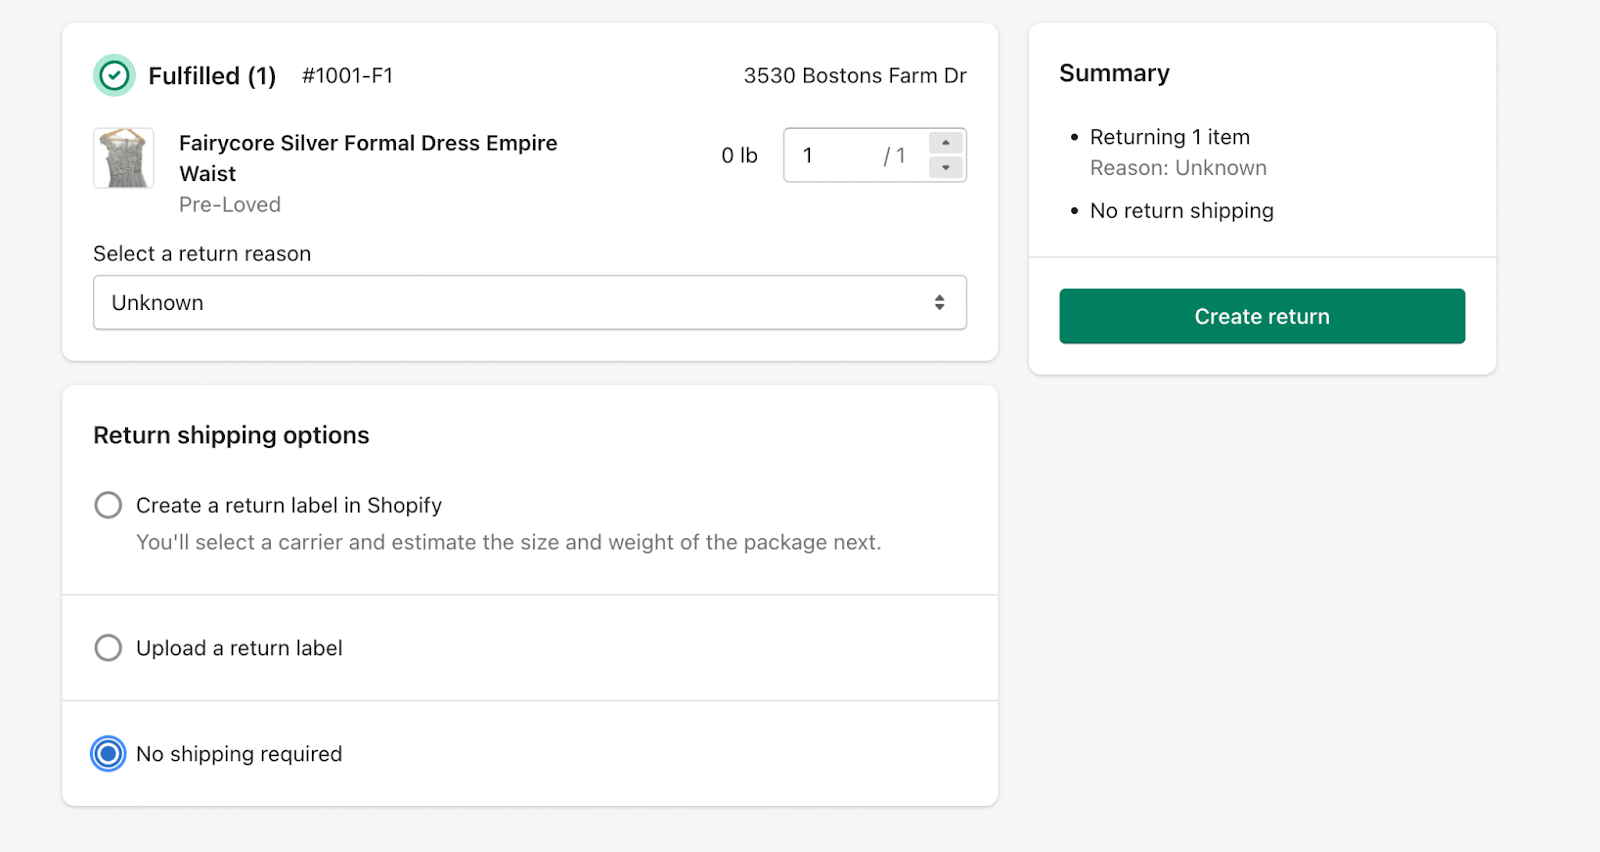
What Happens If You Get A Return on Shopify?
Returns can happen and Shopify gives you several options including the ability to create a return shipping label or refund the money back to the customer without returning the item. Again, you will want to view your orders from the menu bar and open the item that needs to be returned. You’ll see the ability to create a return.
Marketing Your Shopify Store To Make Sales
Now that you have a beautiful website, the orders should just come flooding in, right? Not so fast! The hardest part of launching your own website is getting enough traffic flowing to it to make sales happen. Here are a few marketing tips to help you get started.
Social Media
Make sure to create social media accounts with great content to help get the word out about your store! Using Shopify you can also connect your inventory to an Instagram Shop or a Facebook Business Page Shop.
Original Content
People love content! Start a blog or a YouTube channel to help build a list of subscribers and keep people coming back for more.
Email Marketing
Look for ways to collect e-mails (such as blog subscriptions, offering a free download, etc) so that you can send out weekly or monthly newsletters with special offers.
Paid Ads
Organic traffic takes a long time to build so if you’re in a hurry you can always turn to paid ads on social media or Google to help get your traffic flowing.
Word Of Mouth
Participate in online and in-person reseller events to spread the word about your website. You can also participate in Facebook groups that will allow you to share your link. In fact, we invite you to share your new Shopify store in Vendoo’s Facebook Group anytime!
My personal plan is to build my website through a blog and social media. I can’t wait to see how this new step in my reselling journey goes.
Shopify took all the guesswork out of building my own website and with Vendoo I can easily import all my inventory over and keep track of items no matter where they sell. Have you started to build your own reselling website using Shopify? Share your experience with us in the comments below.